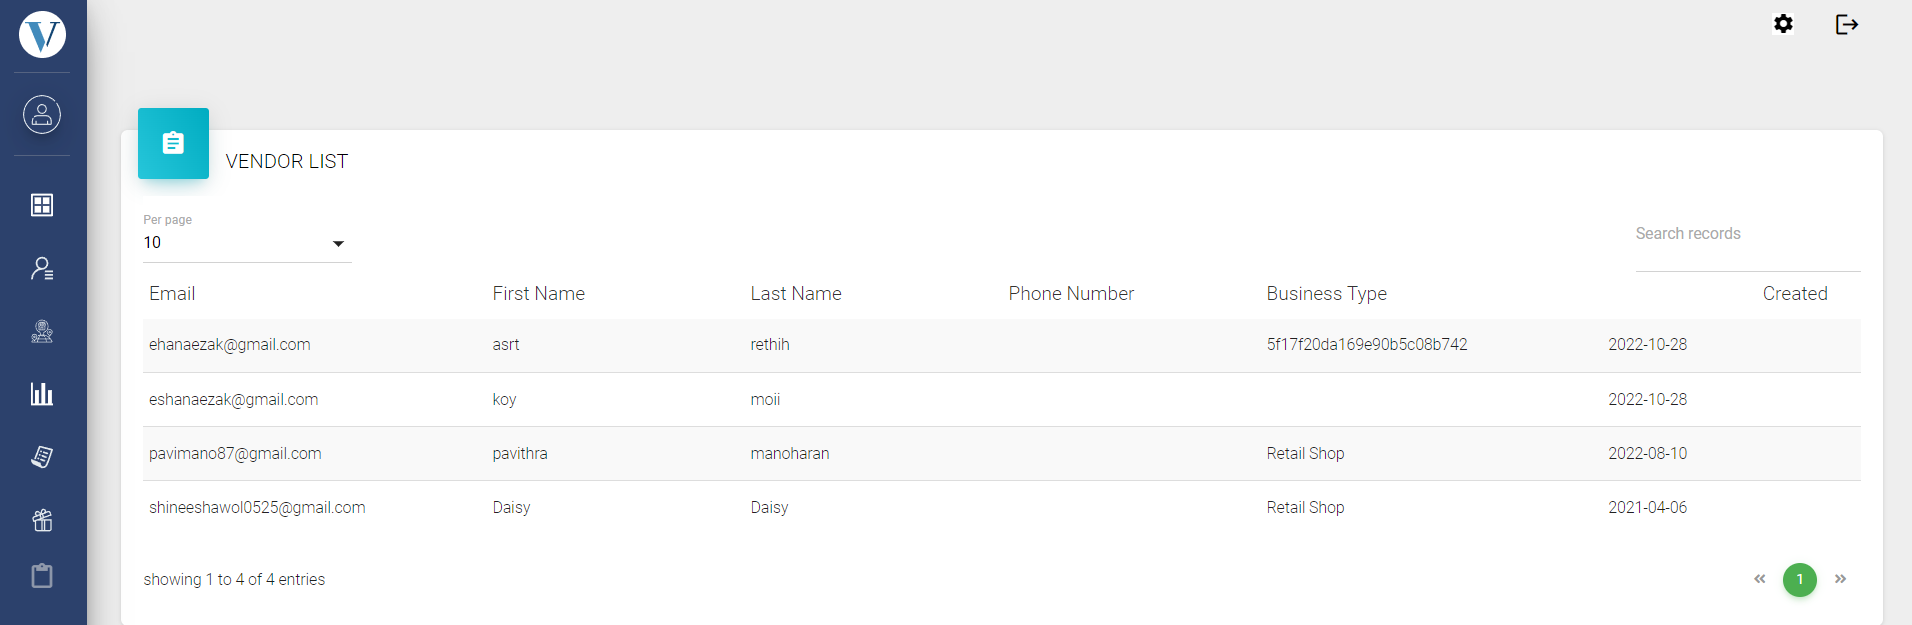
If the merchants who want to join as merchants for the token are registered, now, after signing a contract with the merchant, set commissions. When signing a contract with a merchant, you can conclude a contract between the token issuer and the merchant. A separate form is not provided, but a form will be provided if necessary. Then go back to the token issuer dashboard and click on Vendor list.
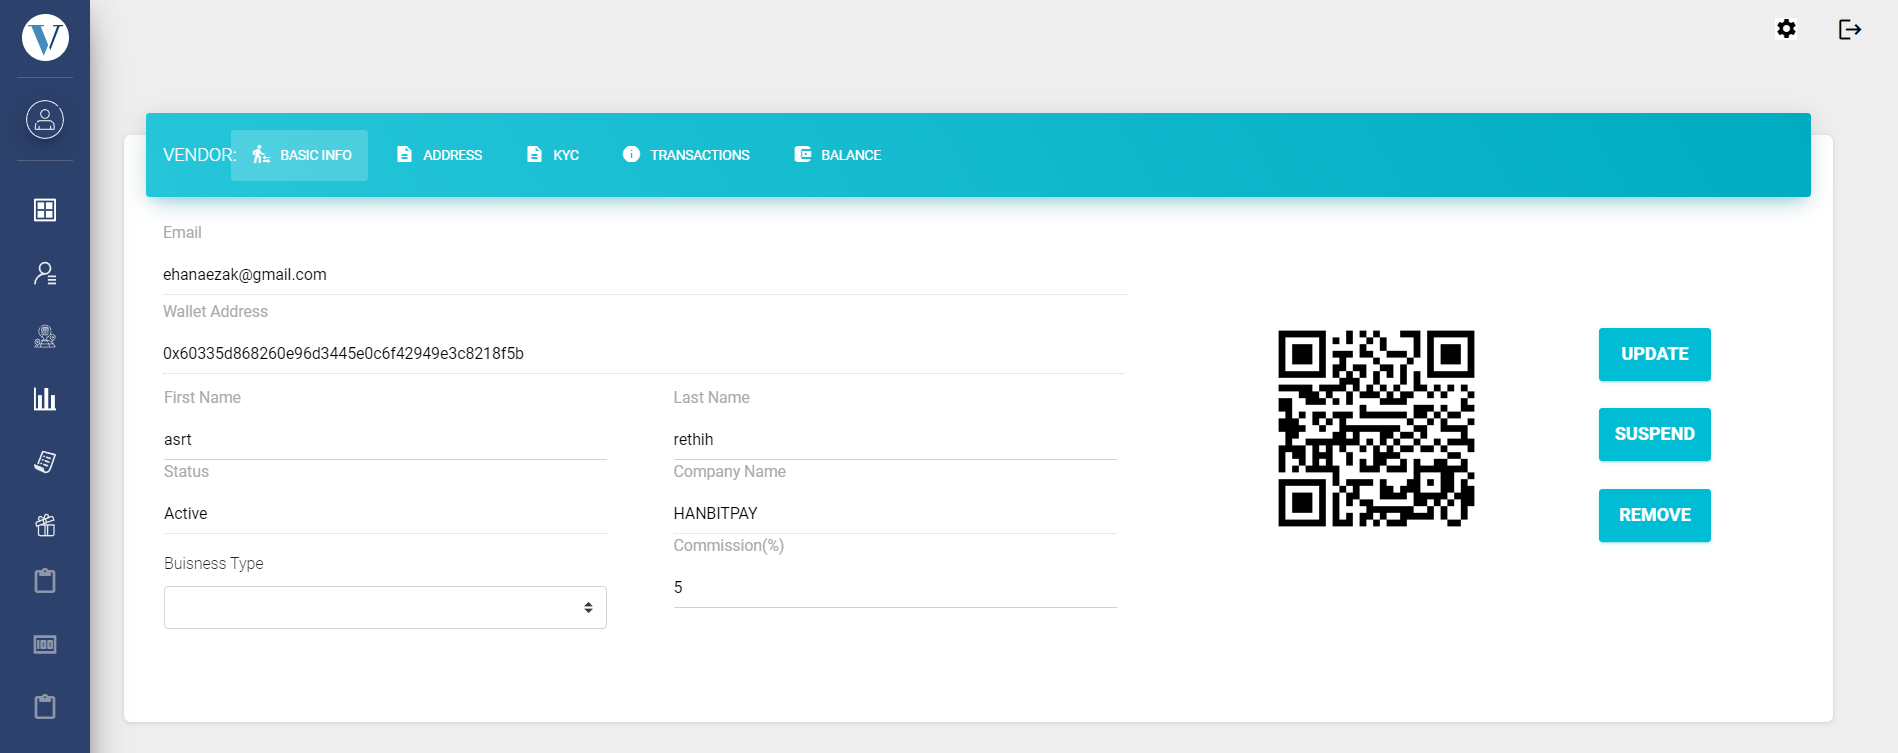
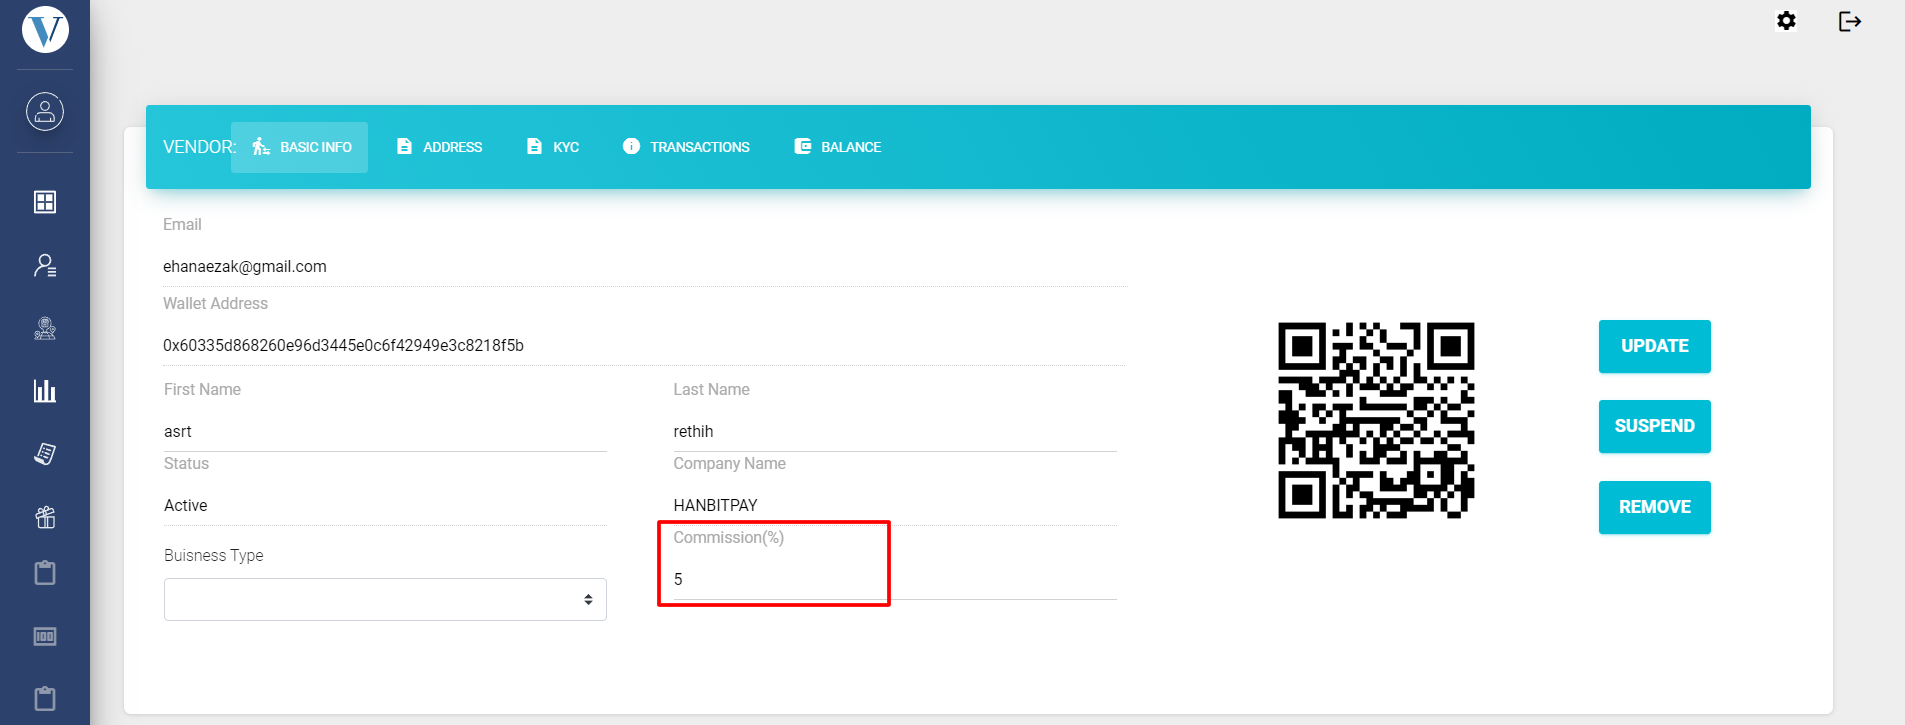
Basic list prices are provided for merchants. There are email, Vaisen wallet address, name, status, company name, business type, and commission (%). The administrator can set the name, business type, and commission.
The right button update/suspend/remove is reflected in the system if you update after completing the task, and if you suspend, the vendor is not exposed in the system. remove is a menu to delete a vendor altogether.
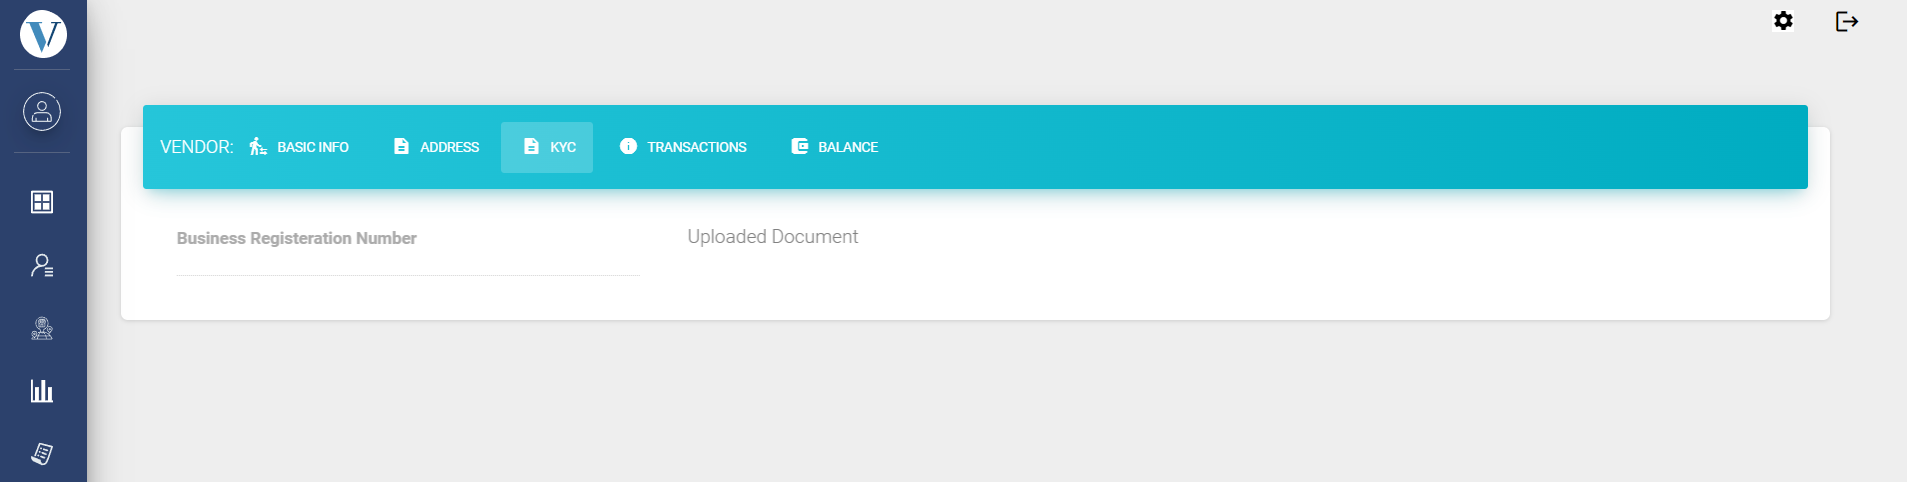
The KYC section is a space to register legal licenses or documents for the merchant. It can be requested at the time of contract. This is because, if there is a legal dispute, the relevant data is necessary.


Leave a Reply